
Kitchen Lighting Ideas: Layering Task, Ambient and Feature Light
By David Abbott, Director · · 7 min read
Good kitchen lighting uses three layers: task light on the worktops, ambient light for the room and feature light for atmosphere. Here is how we plan each one.
The best kitchen lighting ideas all start from the same principle: use three layers of light rather than one. Task lighting shines directly on the worktops, hob and sink where you prepare food. Ambient lighting fills the room so you can move around safely. Feature lighting, such as pendants, plinth lights and glass-fronted cabinets, adds atmosphere and makes the room feel finished in the evening.
Put those layers on separate switches or dimmers and the same kitchen can be bright enough to chop onions at six o'clock and soft enough to sit and eat at nine. Timing matters just as much as the fittings. Lighting has to be planned before the electrician's first fix, because the cables go into the walls and ceilings before anything is plastered.
Why one ceiling light is not enough
Many of the older kitchens we strip out have a single central fitting, sometimes a fluorescent tube, and nothing else. The problem is simple geometry. When you stand at the worktop with your back to a central light, your body casts a shadow over exactly the spot you are working on. Wall units make it worse by blocking light from above.
Adding more ceiling lights helps, but only if they are in the right place. The aim is to light the surfaces you use, not the middle of the floor. That is why we think about lighting in layers, with each layer doing a different job.
Layer one: task lighting
Task lighting is the hard-working layer. It goes where food is prepared, cooked and washed up.
Under-cabinet LED strips
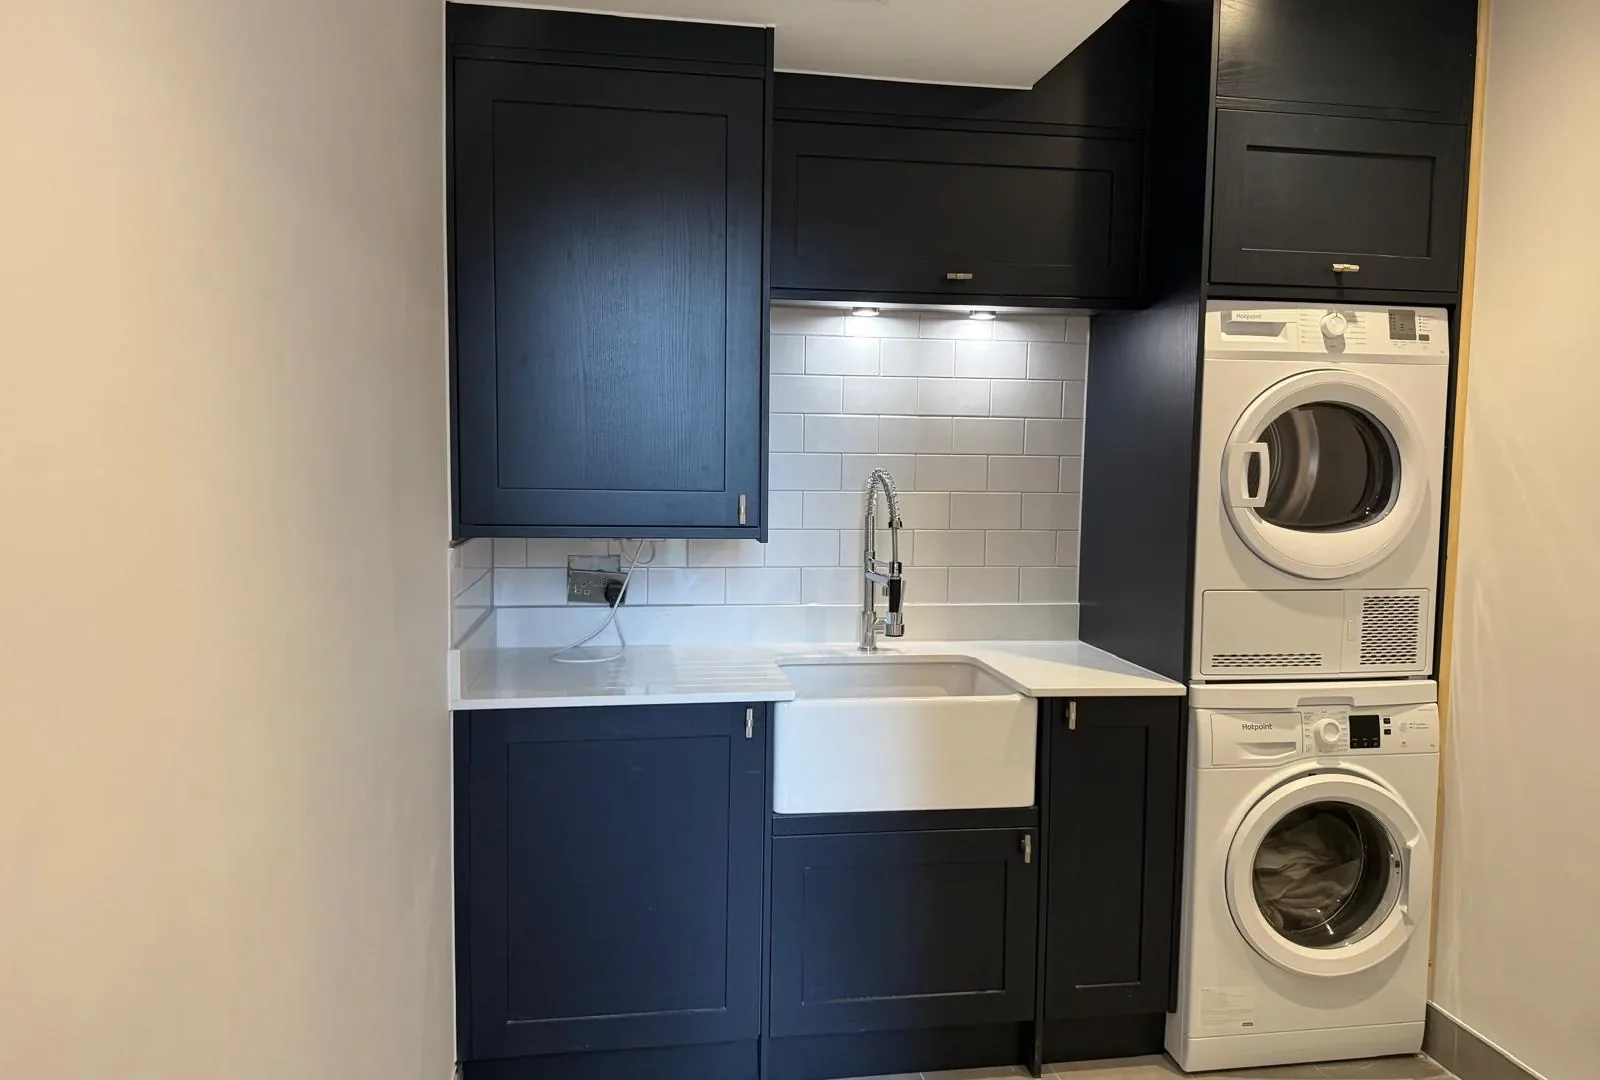
If you have wall units, LED strip lighting underneath them is the most useful upgrade in most kitchens. It puts light straight onto the worktop with no shadow from your head and shoulders. A few practical points from fitting a lot of them:
- Fit the strip towards the front edge of the wall unit, not tight against the wall, so the light spreads across the worktop rather than just lighting up the splashback.
- Use an aluminium profile with a diffuser. Bare strips show as a row of bright dots when they reflect in gloss doors or polished stone worktops.
- LED strips run from a driver (a small transformer). Plan where the driver will live so it can be reached later, usually on top of or inside a wall unit, not sealed behind a panel.
Downlights over the worktops
Where there are no wall units, for example along a run with open shelving or under a window, recessed downlights do the task work. Spacing is more about position than a fixed measurement. As a principle, we line them up roughly over the front edge of the worktop so the light lands in front of you rather than behind you. Avoid the "airport runway" grid that ignores where the units actually are. Draw the kitchen layout first, then place the lights on it, taking into account the ceiling height and the beam angle of the fittings you have chosen.
If there is a bedroom or an insulated loft above, the type of downlight matters. Fire-rated fittings help the ceiling keep its fire resistance, and fittings that can safely be covered by insulation avoid leaving cold spots in the loft.
Layer two: ambient lighting
Ambient light is the general background glow. In a small kitchen the task downlights may do this job on their own. In a larger kitchen diner or open plan space, it helps to have a separate circuit of ceiling lights over the walkways and dining area, so you are not lighting the whole room at full brightness just to make a cup of tea.
Ambient light can also come from less obvious places. LED strips on top of tall wall units bounce light off the ceiling and make a low room feel taller. A roof lantern or skylight in a kitchen extension needs lighting too, or it becomes a black hole after dark. A strip hidden in the lantern upstand works well.
Layer three: feature lighting
This is the layer that makes a kitchen look finished.
- Pendants over an island or peninsula. Usually two or three, depending on the length of the island and the size of the shades. Hang them low enough to light the worktop and read as a group, but high enough that they do not block the view across the room or catch anyone standing up. We often hang a mock-up on string before the final cable position is fixed.
- Plinth lights. Small LEDs or a strip in the kickboards at floor level give a soft wash across the floor that doubles as a night light.
- In-cabinet lights. Lights inside glass-fronted cabinets or along open shelving show off the contents. Sensor lights inside deep larder cupboards and corner units are genuinely useful too.
- Wall lights. Over a dining table or either side of a window, wall lights soften the space and stop the ceiling becoming a mass of holes.
Colour temperature: warm white or cool white?
LED lights are sold by colour temperature, measured in Kelvin (K). As general guidance:
- Warm white, roughly 2700K to 3000K, gives a cosy, slightly yellow light similar to old filament bulbs. It suits dining areas and feature lights.
- Neutral or natural white, around 4000K, is crisper and shows food colours well. Many people like it for task lights.
- Cool white, above that, can look clinical in a home kitchen.
The most common mistake we see is mixing colour temperatures by accident, so the under-cabinet strips look blue next to warm downlights. Pick a scheme and buy everything to match. Some fittings let you switch or tune the colour temperature, which is handy in open plan rooms. It is also worth checking the colour rendering index (CRI) on the packaging: a higher figure means food, worktops and paint colours look more natural.
Dimming and zoning
Separate circuits are what turn a set of lights into a scheme. A typical arrangement in a kitchen diner might be:
- Task downlights and under-cabinet strips on one switch.
- Ambient ceiling lights on a dimmer.
- Pendants on their own dimmer.
- Plinth and in-cabinet lights on a separate switch, or on a sensor.
Make sure the LED fittings and drivers are dimmable and compatible with the dimmer switches you choose, otherwise you get flicker or a faint buzz. In rooms with more than one door, two-way switching saves walking across a dark room to find the switch.
Lighting near the sink and hob
Kitchens do not have the formal zones that bathrooms have under the wiring regulations, but water and steam are still a factor. Near the sink we choose fittings with a suitable ingress protection (IP) rating, usually IP44 or above, so splashes and steam are not a problem. Above the hob, the cooker hood normally has its own lights. Check they are bright enough before you buy, because weak hood lights are common.
Plan it at first fix, and use a registered electrician
The biggest piece of advice we can give is to decide on your lighting before the first fix. First fix is when the cables, back boxes and ceiling routes go in, before plastering. Moving a light after that means cutting into new plaster and making good, which adds time and mess.
So we ask for a final kitchen layout early, mark every light, switch and driver position on the plan, and walk through it with you on site. Because our own team covers the building work, electrics and plastering, the electrician and plasterer work in the right order without waiting on each other.
On the rules: under Part P of the Building Regulations in England, a kitchen is not a "special location" in the way a bathroom is. Swapping a light fitting like for like is not notifiable. Adding a new circuit is, and a kitchen refit with a new lighting scheme often needs one. That work should be done by an electrician registered with a competent person scheme, who can certify it and notify building control for you. You should receive an electrical installation certificate at the end, and it is worth keeping with the house paperwork.
Kitchen lighting in Chelmsford, Braintree and Harlow
We plan and fit lighting as part of complete kitchen projects across Essex, including kitchens in Chelmsford, where we are based, and kitchens in Braintree. We also work in Harlow, where plenty of the post-war New Town houses have compact kitchens that benefit from good task lighting more than most. You can see finished rooms on our kitchen renovation projects page, or read how we run a refit on our kitchens service page.
Good kitchen lighting is not about the number of fittings. It is about light on the worktop, a softer layer for the rest of the room, a few features for the evening, and all of it decided before the plaster goes on.
Frequently asked questions
There is no fixed number. It depends on the size of the room, the ceiling height, the brightness of each fitting and its beam angle. Rather than working out a grid, we draw the kitchen layout and place downlights where the light is needed, mainly over the front edge of the worktops and over walkways. A small kitchen with under-cabinet strips may need only a few downlights, while a large kitchen diner will need more, split across separate circuits so you do not have to switch them all on at once.
Most people are happy with warm white, roughly 2700K to 3000K, for dining and feature lights, and either warm white or neutral white, around 4000K, for task lighting over the worktops. Cool white above that can feel harsh in a home. The important thing is consistency: buy all the fittings in one colour temperature, or deliberately choose one for task and one for ambient light, so the room does not end up with a patchwork of blue and yellow light.
Usually, yes. LED strips can be fitted under existing wall units, and the driver can often sit on top of the units out of sight. The harder part is getting a power supply and switch to them without damaging finished walls. Sometimes there is a route through the units or from a nearby socket circuit, and sometimes a small amount of chasing and making good is needed. We look at the layout first and tell you what is involved before any work starts.
LEDs run far cooler than the old halogen downlights, which is one reason they have largely replaced them. They still produce some heat, mostly at the driver and the back of the fitting, so drivers need a little air around them and should not be buried in insulation unless they are rated for it. LED strips in aluminium profiles stay cool to the touch. Good quality LEDs also last a long time, so the main maintenance point is keeping drivers accessible.
There is no single correct height, because it depends on the ceiling height, the size of the shades and how tall the people using the kitchen are. The aim is to hang them low enough to light the worktop and look like a group, but high enough that they do not block the view across the room or get in the way when you stand up from a stool. We often hang a mock-up at different heights before fixing the final cable position.
Thinking about a project like this?
Ask for a call back and Abbotts Build Hub will talk it through with you, or send us a message on WhatsApp with a few photos.